See my previous post on creating a Public Chatter Group for the basics of this tutorial.
The only difference is in the last step, where we will select “Private” rather than public. This limits access to only those Chatter users who are approved to see the group and its updates.
The benefits of a Private Chatter Group are as follows:
1. Share information with a select subset of Salesforce Users
2. Share information with Customers via a Portal (or with Chatter Licenses)
3. Build individual groups for projects with updates the entire company doesn’t need access to.
First, we need to make sure Chatter is enabled. To do this, click your name and “Setup.”
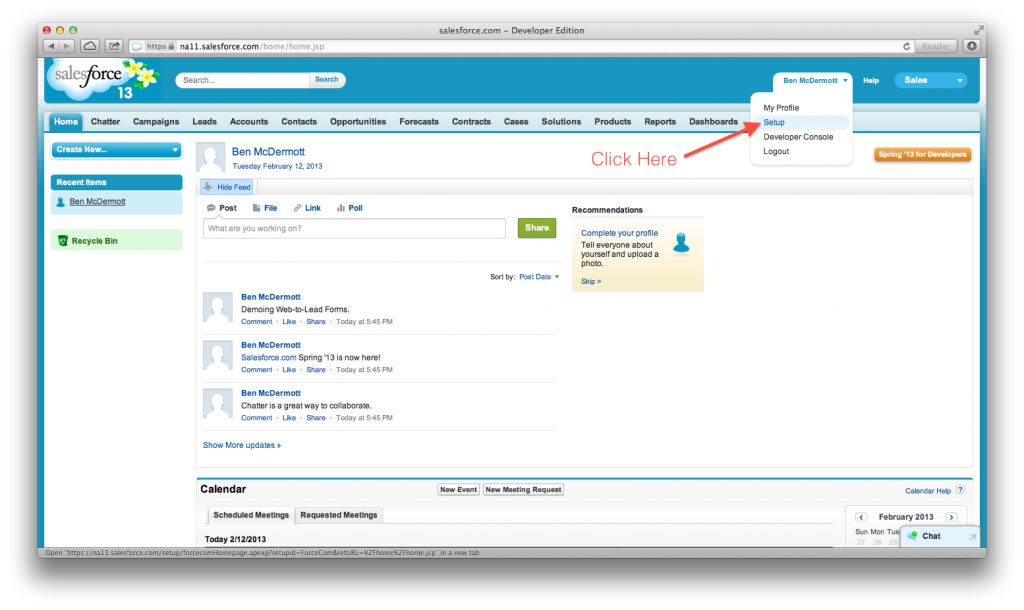
- Access the Salesforce Setup page.

Then click Chatter > Settings.
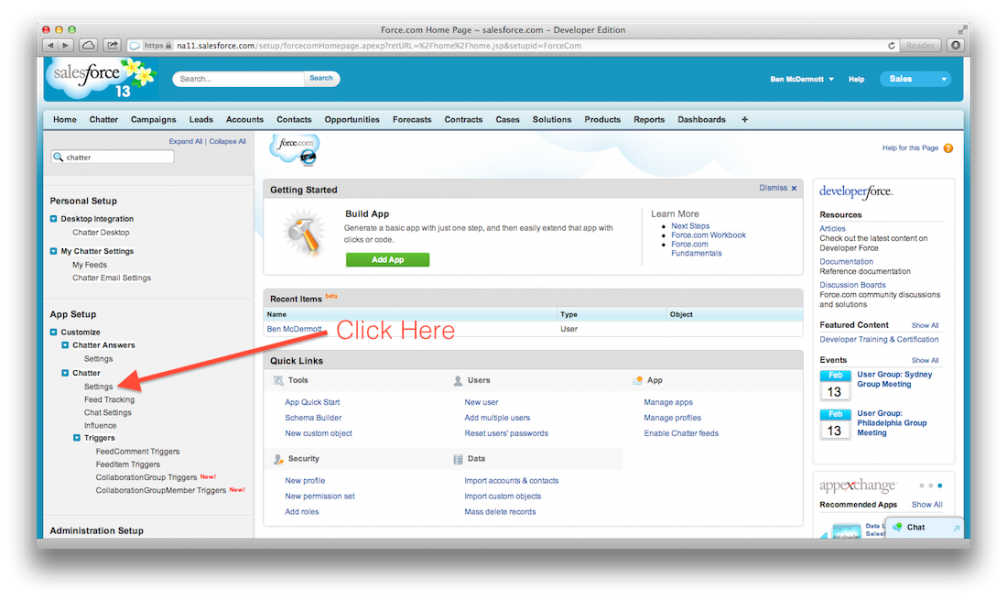
- Click through to Chatter Settings.

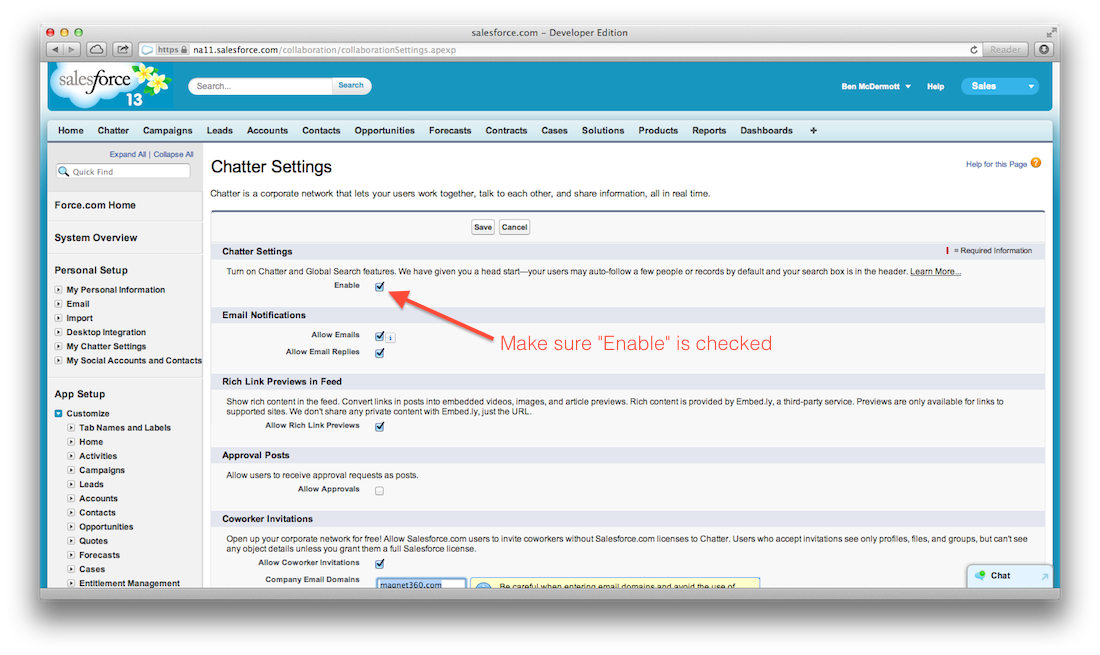
And finally, make sure the “Enabled” checkbox is ticked.
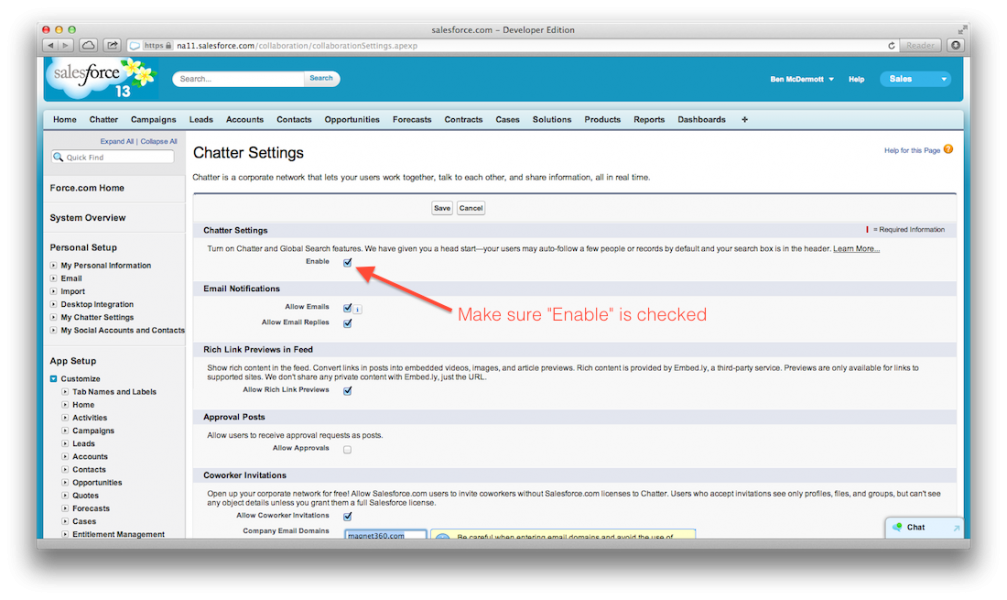
- Check the “Enable” checkbox.
Now, on to creating a Private Chatter Group. Navigate to your Chatter Homepage.
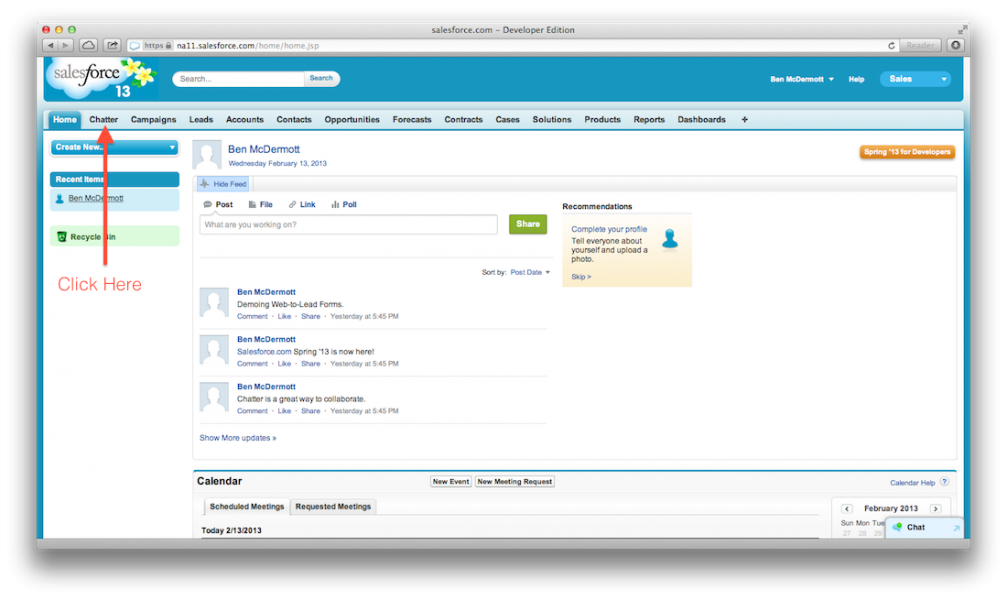
- Click through to the Chatter homepage.

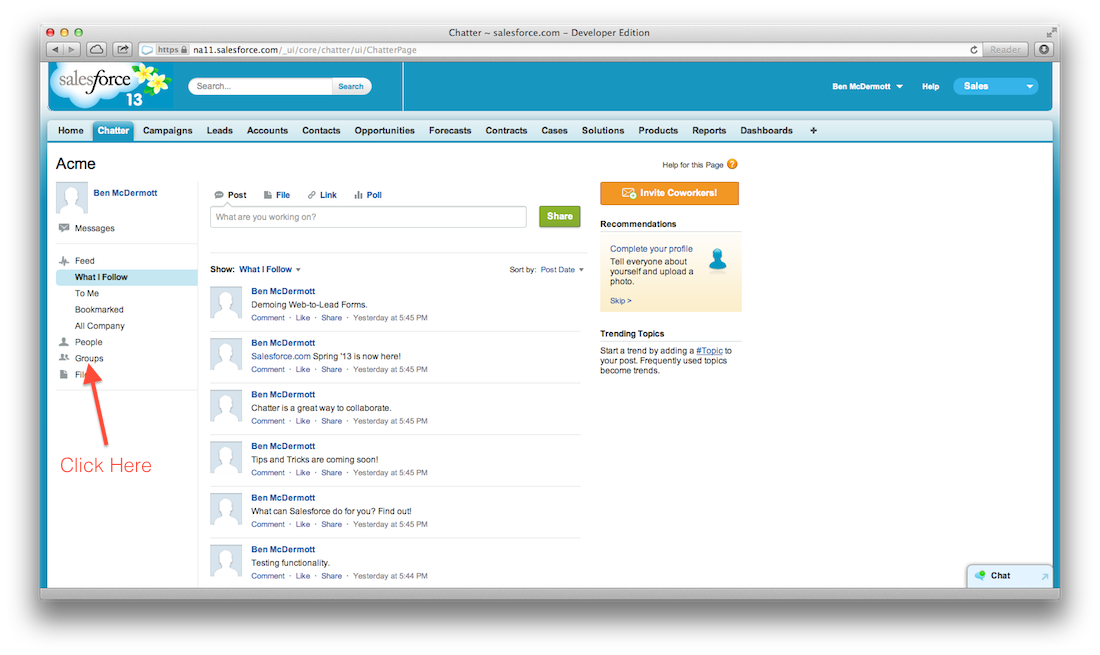
Click the “Groups” link on the left sidebar.
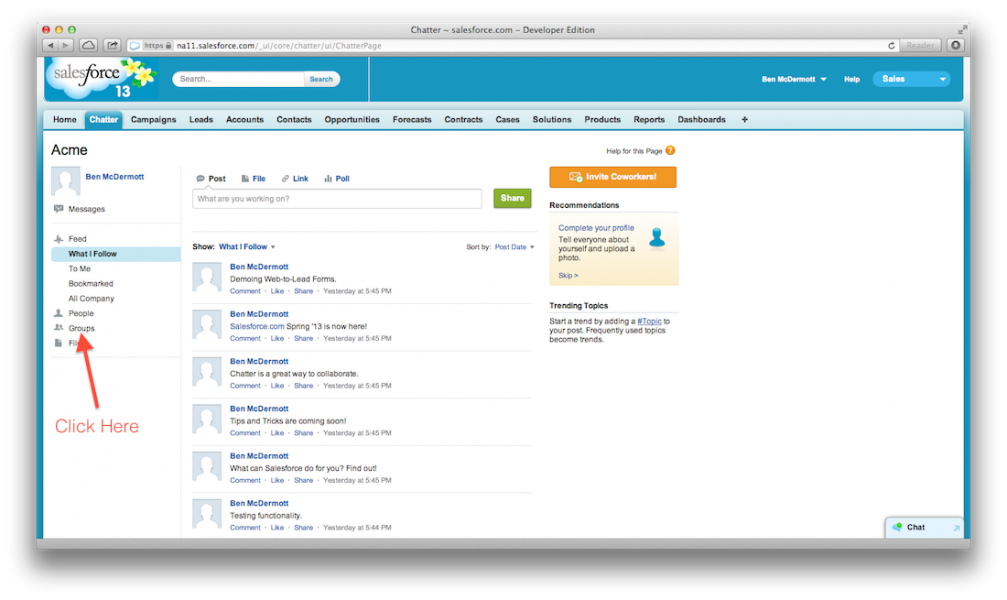
- Click through to the “Groups” page.
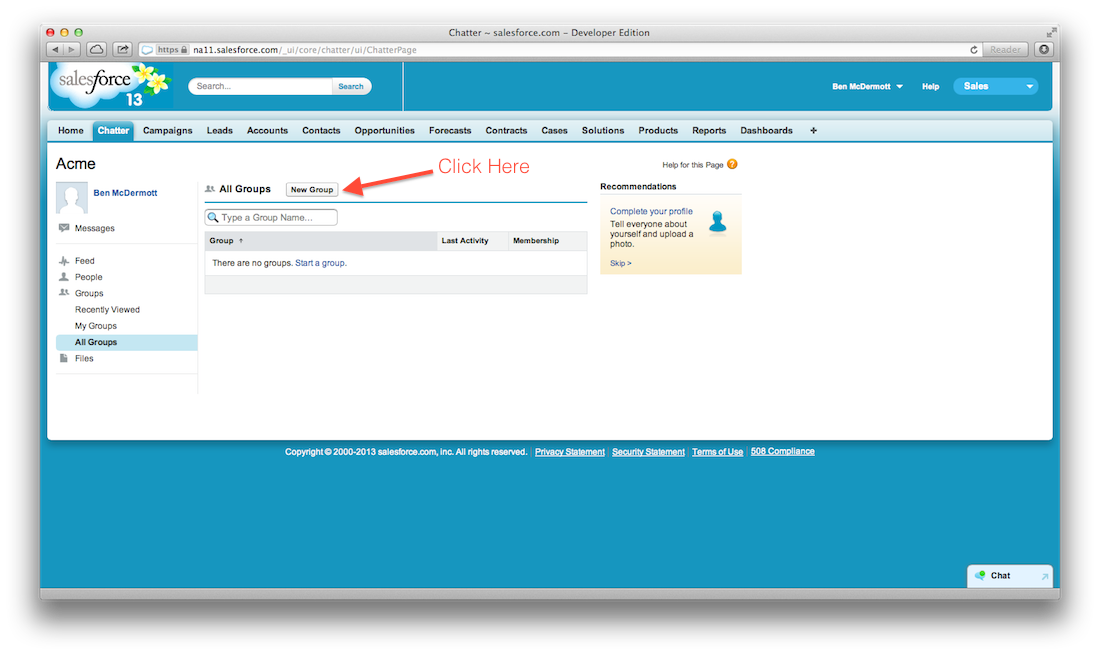
At the top of the page, click “New Group” to create your Chatter Group.
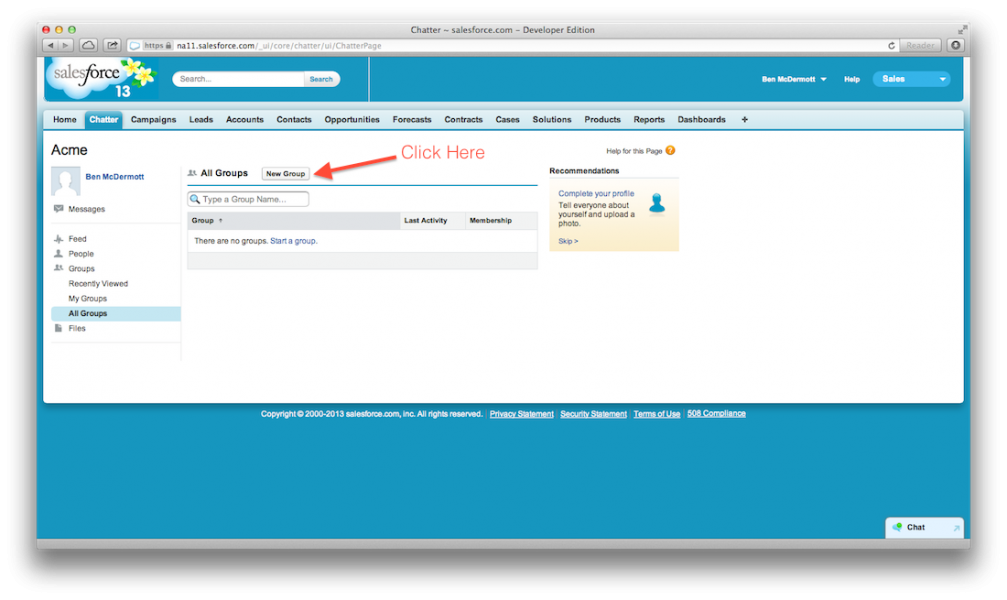
- Click “New Group”
Tick the private radio button. This means that only those with explicit access to the group will be able to see posts made within the group.
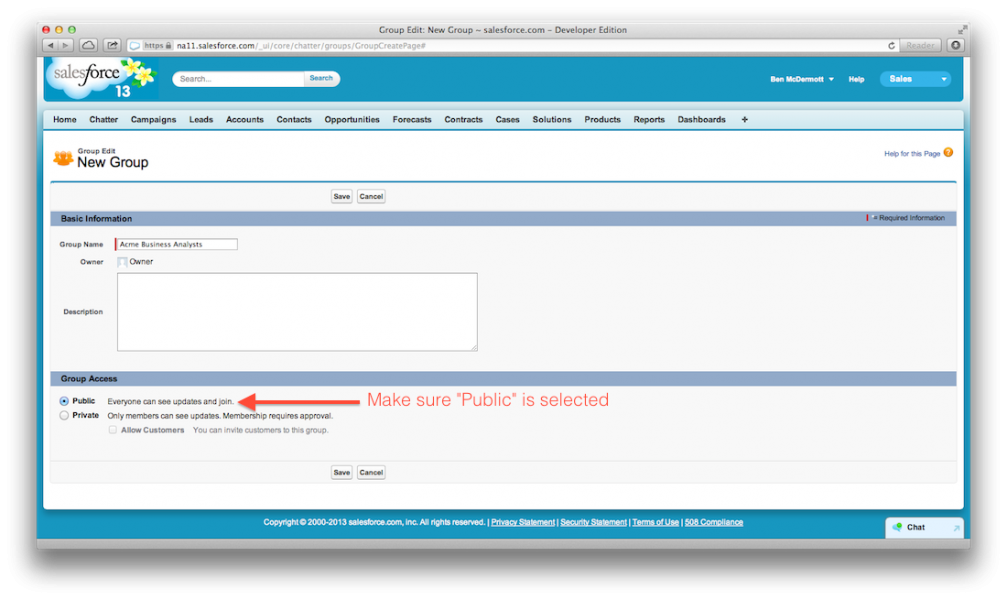
- Select the “Private” button.

After clicking Save, your Chatter Private Group is ready.
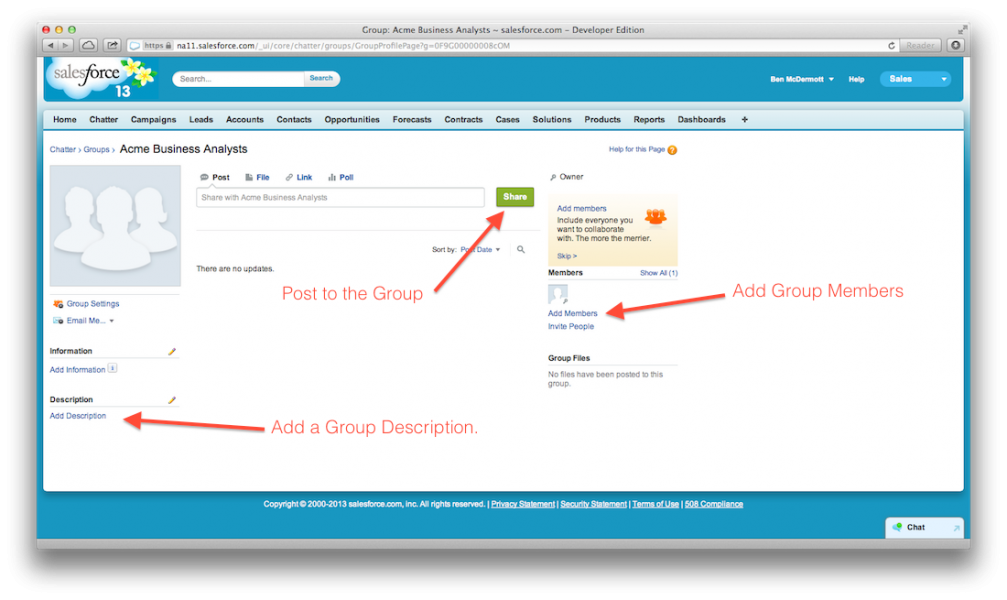
- Post to the private group, add a description, or add users who should be included in the private group.
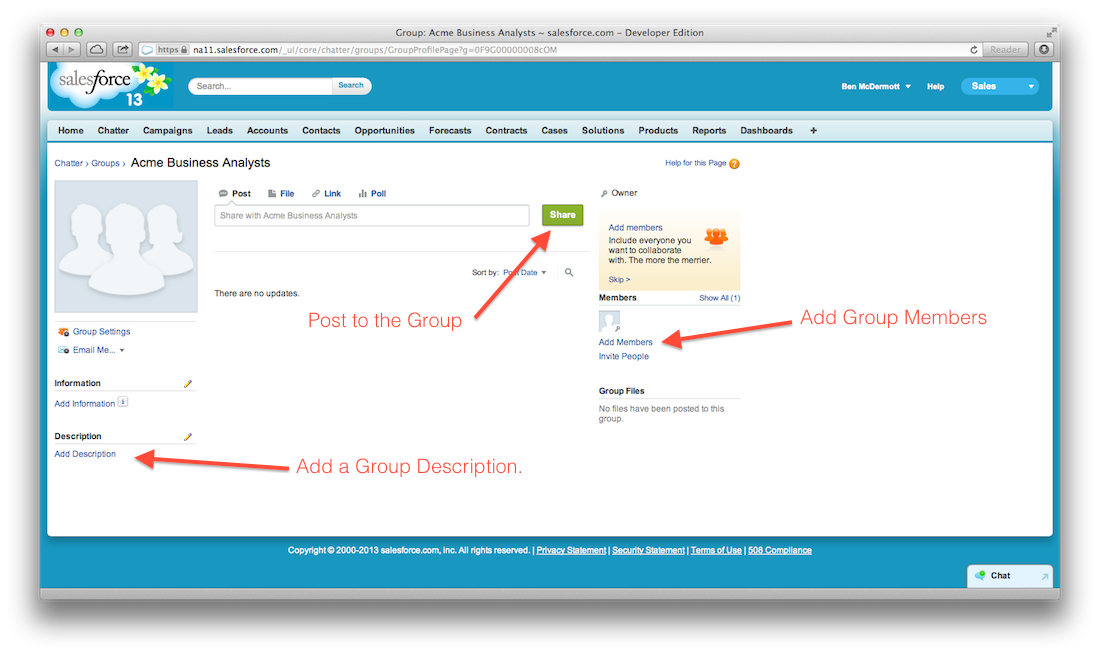
Your Private Group is ready! Anything you post within this group will be private and shown only to those with access to the group. Granting access is done by adding group members. Please also note that System Administrators will have access whether or not they are a member of the Private Group.
And as always, I’d happily respond to questions/comments/suggestions!